This is the instructions to build a 10-inch diameter sphere from a kit.
There are 30 Rhombus tiles in the triacontahedron.
The kit contains 8 sheets of cardboard each with 4 images of the
Rhombus tile.
Because the paper is not fire resistant, this construction should not be used for lighting.
IQ Light in Denmark has a line of lights based on
rhombic tiles made by
Holger Strom.
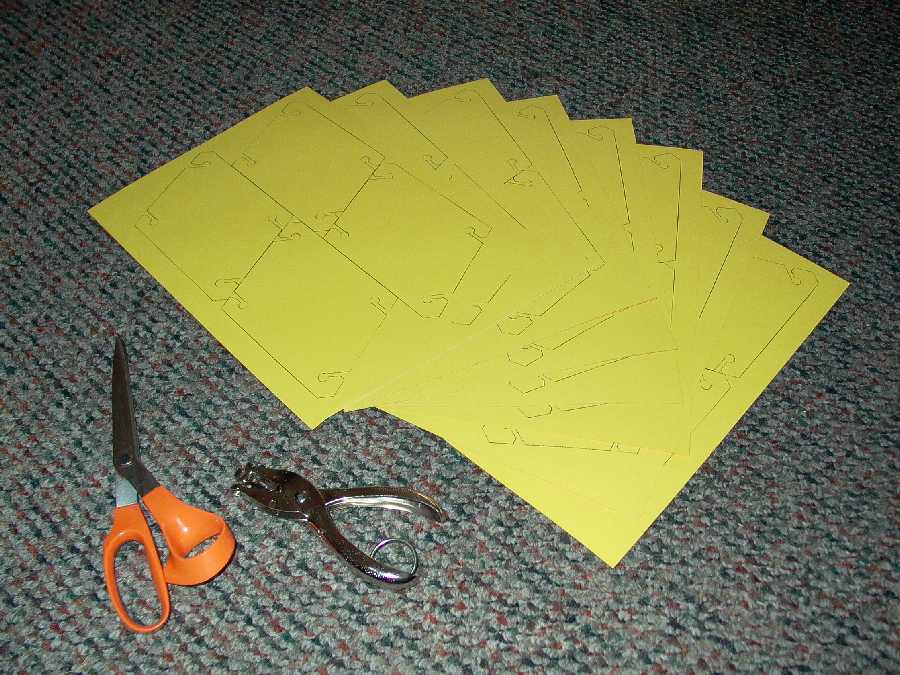
The 8 sheets of carboard have printed images on the yellow side.
The other side of the cardboard is red.
The two tools needed for this project are: a pair of scissors and a paper punch.
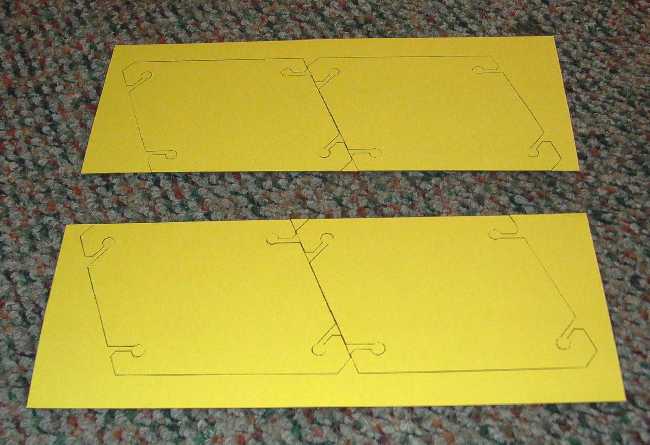
Step #1
Cut the cardboard into two long pieces.
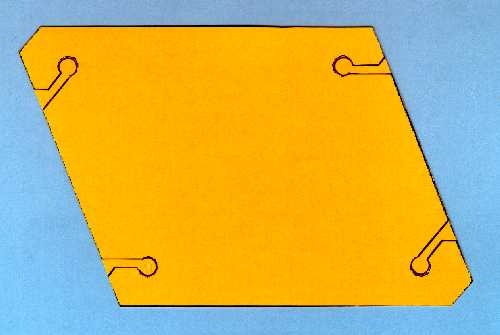
Step #2
Cut the 4 tiles along the outside boundary.
Step #3
Punch 4 holes at the corners of the tile as marked.
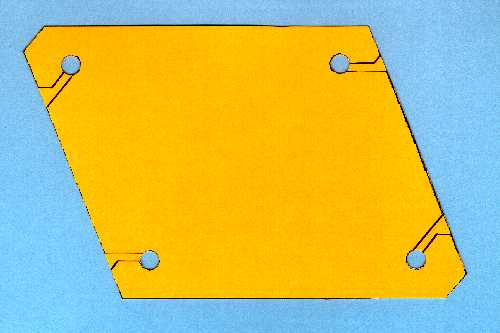
The accurate location of the punch holes is important
for a good assembly of the sphere. Take some effort
to aim the punch to the marked location.
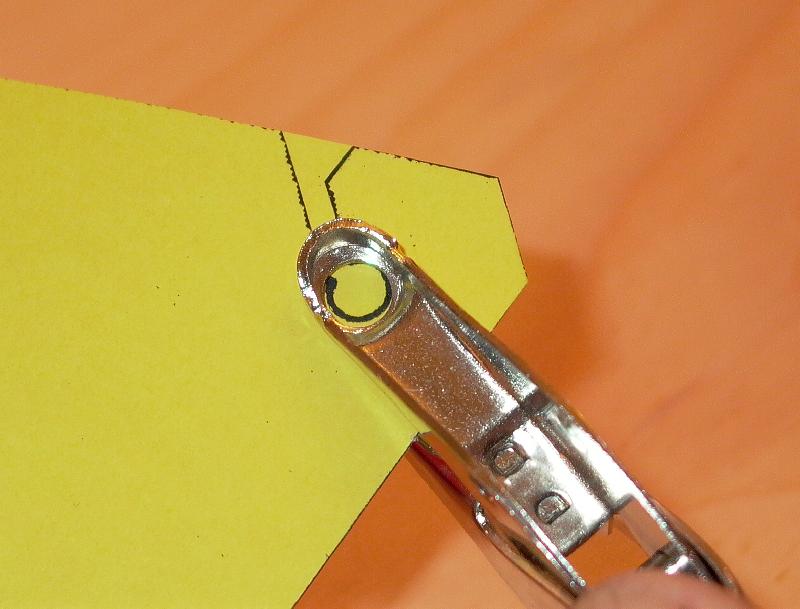
Step #4
Cut the slots from outside edge into the hole.
Make sure the cut terminates in the hole. Hiding the end of
the cut in the hole prevents the piece from tearing at the hook.
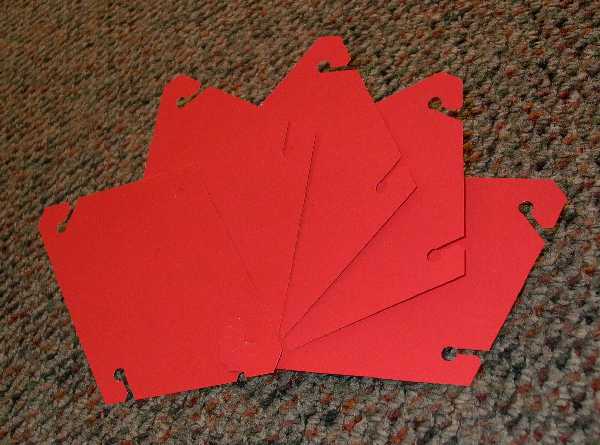
Prepare all 30 pieces this way and you are ready to assemble !

The following sequence shows how to build a red sphere.
The red sphere is build using the front of the tile facing outside.
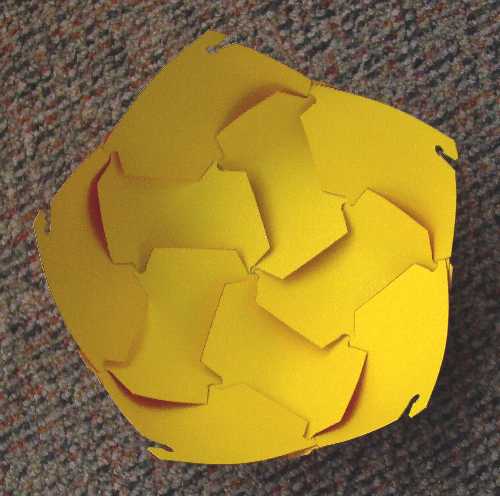
With very minor changes, you can build a yellow sphere using the
back of the tile facing outside.
Step #5
Take 2 tiles, keep the long diagonal vertical, hook together at the bottom.
Note the tile on left is on top of the stack.

Put 5 tiles together like a deck of card.
All the tiles are hooked together at the bottom.
The left hand tile is on the top and the right hand tile is at the bottom of the stack.
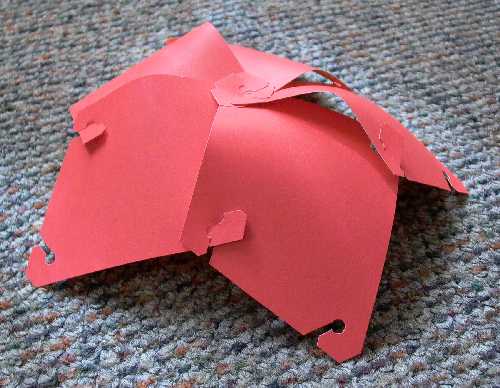
Step #6
Bend the long edge of the tile on the left and hook under the short edge of
next tile to the right. Repeat this for all 5 tiles.
The result is a 5 petal rosette as shown in the following 2 photos.
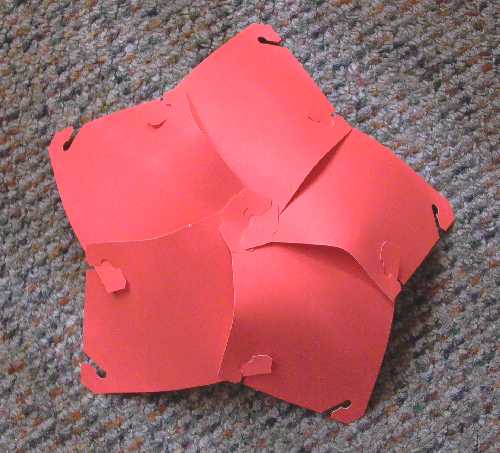
Step #7
The next row out from this rosette is 5 tiles with the long
diagonal perpendicular to the first row.
The sharp corner connects to sharp corners in groups of 5.
The fat corner connects to fat corners in groups of 3.
Here are the photos before and after assembly.

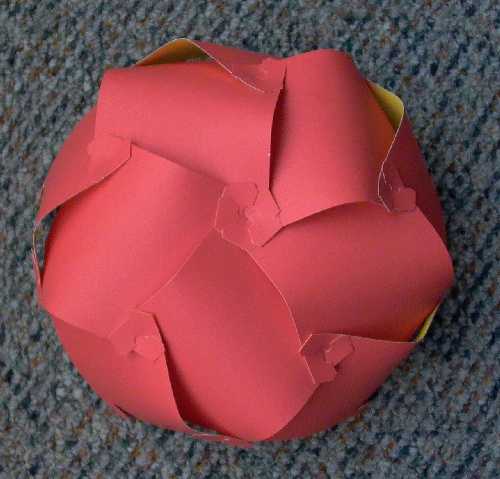
Here is a view from the inside of the sphere.
This polyhedron has "532" symmetry.
We can visualize the North and South pole as two 5X rosettes.
There are 3 more rows of tiles between the two poles:
North and South temperate zones have 5 tiles in these rows.
The equator is a row with 10 tiles.
Here are a list of rules:
(1) Use one color for the outside of the sphere.
(2) All sharp corners fit with other sharp corners. There are 12 of these 5X vertices.
(3) All fat corners fit with other fat corners. There are 20 of these 3X vertices.
(4) The long edge of a rhombus fits over the short edge of an adjacent rhombus and form a hump.
Using the same tiles, you can also build the sphere with yellow color facing outside.
For step #5, the tiles on the right side are on top of the stack.
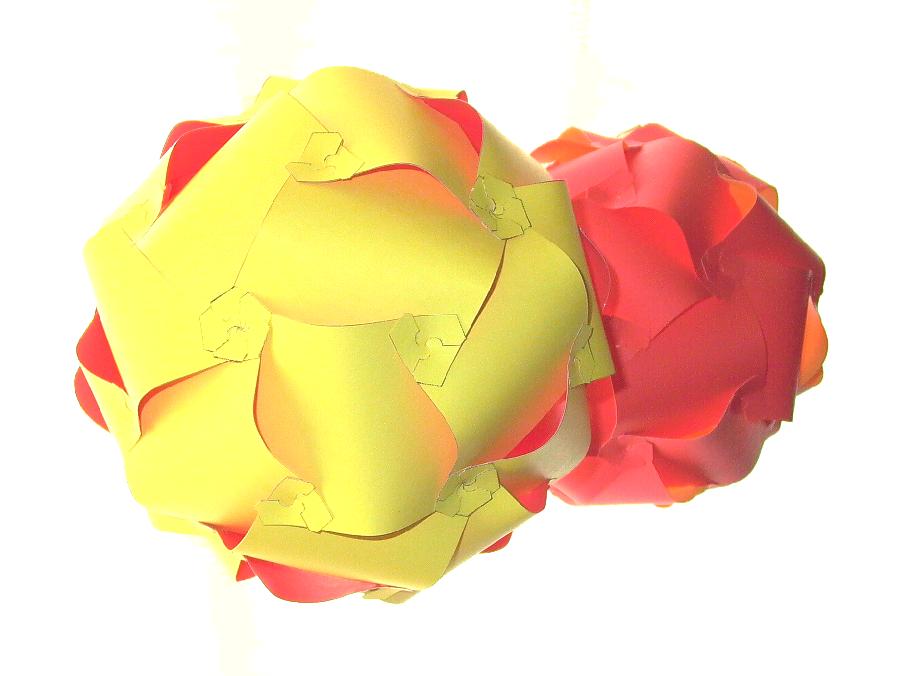
The picture below shows the two different color constructions with the same tiles.
Build a rhombic dodecahedron
Discussion of the tile for this construction
Rhombic
polyhedron kit
Order the kit with email
Home page
Last update:7/30/2004 Copyright 2004 by William Chow